One of the more recent additions to the Aspire toolkit is the CLI. Like most CLI tools, it allows you to work directly with Aspire related functionality directly on the command line.
Installation
You can install the Aspire CLI using any of several methods, including PowerShell, bash script, or as a dotnet tool install.
PowerShell
Invoke-Expression "& { $(Invoke-RestMethod https://aspire.dev/install.ps1) }"Bash
curl -sSL https://aspire.dev/install.sh | bashDotnet Tool
dotnet tool install -g Aspire.Cli --prereleaseAspire New
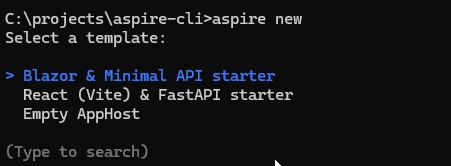
The aspire new command lets you create a new Aspire project directly on the command line. It’s an interactive process that will walk you through creating an Aspire application.
The first step will let you select the type of application, based on the Aspire templates you currently have installed.
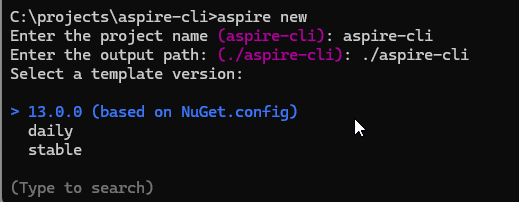
The second step asks you to name the project, choose a folder, and select the version number. It will default to the folder name.
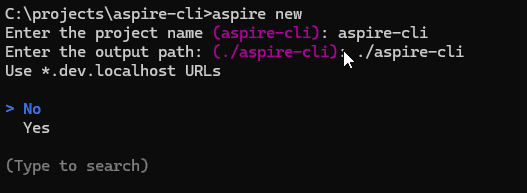
Next you will be asked if you want to use *.dev.localhost urls.
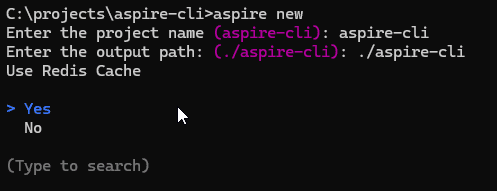
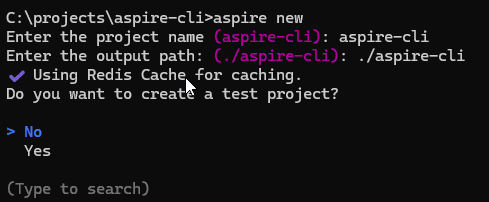
After that, you will be asked if you want to use Redis Cache.
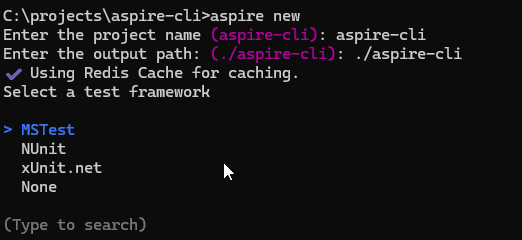
Next you will be asked if you want to include a test project and which version to use.
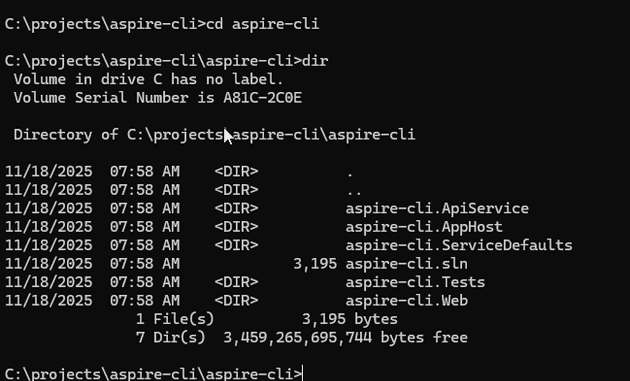
Having completed your inputs, Aspire will now generate your project in the selected sub-folder. What it generates depends on the options you selected, but the structure with the current defaults will look like this.
And you can edit it, or just run it as is.
Aspire Init
The aspire init command lets you add Aspire functionality to an existing application. It will analyze the current project and add the appropriate Aspire AppHost functionality. Note that it can either add a full AppHost project, or the new option for a single-file AppHost that is now available with Aspire v13.
Aspire Run
The aspire run command runs your Aspire application in development mode, kicking off the AppHost and launching the dashboard website. It can be run from any folder in the solution, searching through the various subfolders of the solution until it finds the AppHost and launching it.
Well, at least that’s what it’s supposed to do. As I write this, there is apparently a bug (well, I call it a bug, but they say it’s working as designed, and to that I say it’s a terrible design) such that it doesn’t search the current directory structure for an apphost, but instead the first time you execute aspire run, it will search the directory structure and ask which AppHost to launch, and then gets stuck and will forever after launch only that one unless you explicitly tell it which apphost to launch or manually delete the config setting (see aspire config) that stores the selected AppHost before running it again.
So, for now, make sure you explicitly tell it which AppHost to launch, like so:
aspire run --project ./aspire-cli.AppHost.csprojor, you can use the current directory shortcut
aspire run --project .When you do, you should see output like the following.
Control-click on the URL for the dashboard and your browser will launch to the dashboard for your app.
Aspire Add
The aspire add command allows you to easily add support for various components of Aspire to your application. The command can be used with or without the name of the package you want to add. If you know the name of the package you want to add, enter it as part of the command, like so:
aspire add Aspire.Hosting.SqlServer --project .As with most of the Aspire CLI commands, you can see that you need to specify the project. If more than one match is found, it will ask you to verify which package you mean.
It will then ask you to select the version to add.
And finally, it will let you know the package was added successfully.
If you don’t know the name of the package, or you just want to view the entire list, you can just enter:
aspire add --project .and it will provide you with the list of all Aspire packages to select from.
The up and down arrows will allow you to move through the list and you can select which package to add.
It should be noted that aspire add only shows the hosting packages, and not the client packages. To add client packages in the various sub-projects, you will still have to use the normal Nuget install process.
Aspire Update
The aspire update command will run the process for updating your application to the newest package versions for Aspire. If there are newer package versions available, it will update those packages for you. Or, it will happily report that your “Project is up to date! (no updates necessary)“.
Again, with update, you need to specify the current project.
aspire update --project .Starting with version 13 of the Aspire CLI, you can also use the aspire update command to update the Aspire CLI itself by passing in the —self parameter.
aspire update --selfAspire Publish
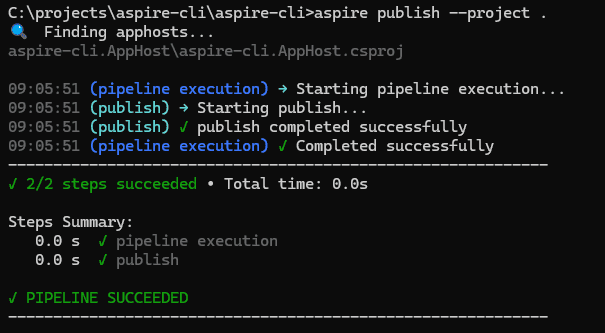
The aspire publish command will generate the files needed to publish your Aspire application to the local disk. Like the aspire run command, it will not necessarily publish the application in the currently folder, but will instead publish the application that was originally selected the first time you called aspire run. So, you must pass in the —project parameter, like so:
aspire publish --project .As you see, you can just use dot notation to have it publish the current folder. For the most part, you will need to take advantage of registering your own PublishingCallbackAnnotation resource annotations to really take advantage of this command, though a couple Aspire integrations do have these annotations implementated. See the official docs for more info.
Note that aspire publish is currently in preview.
Aspire Deploy
The aspire deploy command allows you to deploy your Aspire application. Currently, no built-in deployment functionality exists. You must take advantage of the DeployingCallbackAnnotation functionality to create your own deployment process. You can find out more in the official Aspire documentation. This functionality is also currently in preview.
Aspire Config
The aspire config command lets you list, set, and get the various environment keys used by Aspire CLI. What config items exist depend on what you’ve set up with Aspire CLI, but you’ll probably at least see a “appHostPath” setting. This is the setting that overrides looking in the current directory for an AppHost and instead uses this defined AppHost when running the aspire run command.
Apire Exec and Aspire Do
There are a couple of other preview commands available. The aspire exec command lets you run a command against a specific Aspire project resource defined in your AppHost. For instance, if you have defined a reset data command for your database resource that clears out the database data and then sets up a specific set of test data, you could do so without having to run the entire Aspire solution and calling the command from the dashboard.
The aspire do command will let you execute a specific step in your Aspire AppHost pipeline, such as running tests or doing a release build.
Summary
The Aspire CLI will let you set up and do quite a bit with Aspire for those who prefer a command line interface to do their work. It’s still early days, and there are some quirks and gaps that I’ve outlined above, but it’s off to a great start, and it will really let you get quite a bit done.


